Flowers
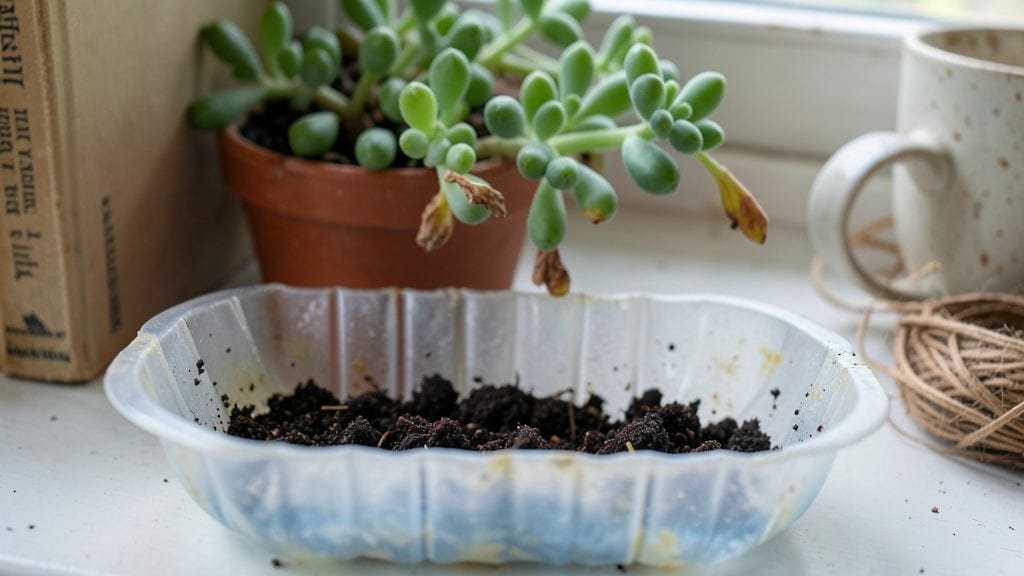
Turning a plastic bottle into a flower pot from plastic bottle might seem too good to be true, but I’ve made dozens of these upcycled planters—and they’re still thriving after two growing seasons. 🌿 The best part?
No one will guess you’re growing petunias in what looks like trash. My first attempt was a wobbly mess, but now I’ve perfected the cut, drainage, and soil combo to keep plants happy without the guesswork.
You’ll need just three things: a clean plastic bottle (2-liter soda bottles work best), a sharp knife or scissors, and potting mix.
The trick is cutting the bottle at the right height—6 to 8 inches from the base for most flowers—and drilling drainage holes with a nail or screwdriver. This keeps roots from drowning while preventing the pot from tipping over in windy spots.
I’ve even used these for herbs on my balcony, and the savings add up fast.
What you end up with is a budget-friendly planter that brightens up patios, windowsills, or garden beds—no one will know it’s made from recycled materials. Succulents, herbs, and trailing flowers like nasturtiums thrive in them, and you can paint or decorate the bottles for a polished look.
The only challenge? Keeping the soil moist enough in hot weather, but a layer of mulch or a saucer underneath solves that.
Perfect for beginners, small-space gardeners, or anyone tired of buying plastic pots that end up in landfills. Once you’ve mastered the basics, you can experiment with hanging bottles or even multi-level planters. Ready to give it a try? Let’s get growing!
📚 In This Guide
- What you need
- Instructions
- Tips and common mistakes
- Wrapping up and next steps
What you need
- ● Plastic bottles: 2–4 clean, empty plastic bottles (e.g., soda, water, or detergent bottles)
- ● Size: 1–2 liters (larger bottles = bigger pots for heartier plants)
- ● Drilling tool: A power drill with a 1/4-inch or 1/2-inch drill bit (or a heating tool like a nail/ice pick if no drill is available)
- ○ Decorative supplies (optional but fun!): Acrylic paint, markers, or nail polish
- ● Stickers, washi tape, or fabric scraps
- ● Scissors or craft knife
- ● Planting essentials: Potting soil (well-draining mix for herbs/flowers)
- ● Small pebbles or sand (for drainage, ~1/4 cup per bottle)
- ● Your favorite seedlings or cuttings (succulents, herbs, or small flowers work best!)
- ● 🔥 Safety first: If drilling, wear gloves and goggles—plastic shards can be sharp!
- ● 🌡️ Ventilation matters: Poke 3–5 small holes near the bottom for drainage.
- ● ✨ Double up: Stack two bottles (one upside-down inside the other) for a tiered planter!
Step-by-Step instructions for crafting plastic bottle flower pots
Transform everyday plastic bottles into stylish, functional planters that give your flowers a fresh new home.
🪴 Step 1: Select and Prepare Your Bottles
Grab 4 clean, empty plastic bottles—I prefer 1-liter soda bottles for their sturdy shape and ample growing space. Remove labels completely by soaking them in warm, soapy water for 10 minutes before gently scraping off any residue. Rinse thoroughly and let them dry completely to prevent mold later.
Check the bottles for cracks or sharp edges. If you find any, trim them carefully with scissors or a utility knife—this ensures your plants won’t get snagged as they grow. The wider the bottle’s opening, the easier it’ll be to plant later, so 2-liter bottles work great for larger flowers like petunias or geraniums.
✂️ Step 2: Cut and Design Your Planters
Use a permanent marker to draw a 4-6 inch circle near the bottle’s base—this will be your pot’s opening. Place the bottle on a flat surface and carefully cut along the line with a box cutter or sharp scissors. For cleaner edges, hold the bottle steady and press firmly while cutting in one smooth motion.
Flip the bottle upside down and repeat the process to create the drainage hole at the very bottom. This is critical—without it, roots will suffocate in standing water. If you’re feeling creative, decorate the outside with paint or markers before planting. I like to use waterproof acrylic paint in bright colors to match my garden’s theme.
💧 Step 3: Add Drainage and Fill With Soil
Place a small piece of mesh or a coffee filter over the drainage hole to keep soil in while allowing excess water to escape. Secure it with a rubber band or a tight twist of the bottle’s cap. Now, fill each pot with 2-3 cups of well-draining potting mix—I blend regular potting soil with perlite (about 1 part perlite to 4 parts soil) to keep roots happy.
Press the soil down gently but firmly to eliminate air pockets. You want it compact enough to support plants but loose enough for roots to spread easily. Leave about 1 inch of space at the top to prevent spills when watering. If your soil feels too dry, mist it lightly with water before planting.
🌱 Step 4: Plant Your Flowers
Dig a small hole in the center of each pot—just deep enough to accommodate the root ball of your plant. Gently remove your flower from its nursery pot and place it in the hole, ensuring the top of the root ball sits level with the soil surface. Fill in around the roots with more potting mix, pressing lightly to secure the plant.
Water the newly planted flowers until water runs freely from the drainage hole. This ensures the soil settles and eliminates air gaps. Avoid overwatering at first—wait until the top inch of soil feels dry before watering again. For best results, place your new pots in a spot with 4-6 hours of sunlight daily, adjusting based on your flower’s needs.
☀️ Step 5: Maintain and Enjoy Your Upcycled Planters
Check your pots every 2-3 days to ensure drainage is working properly. If water pools at the bottom after watering, your mesh might need replacing. To fertilize, use a balanced liquid fertilizer (like 10-10-10) every 4-6 weeks during the growing season. Dilute it to half-strength to avoid burning delicate roots.
As your flowers grow, you might notice the soil drying out faster—this is normal! Grouping pots together helps maintain consistent moisture levels. If your plants outgrow their bottles, it’s easy to repurpose the bottle as a saucer or start a new one with a larger container. With a little care, your upcycled planters will keep blooming beautifully for months!
Tips & tricks for perfect upcycled plastic bottle planters
Here's how to turn trash into treasure with these game-changing tips that'll make your upcycled planters thrive!
Cutting Precision: For cleaner cuts in Step 2, wrap masking tape around the bottle at your marked lines before cutting. This prevents the box cutter from slipping and creates perfectly smooth edges that look intentional. I've ruined three bottles trying to cut without this trick—don't make my mistake! The tape also protects your hands from sharp plastic edges.
Drainage Hack: In Step 3, use a piece of old nylon stocking or pantyhose instead of mesh for your drainage layer. It's free, breathable, and stretches perfectly over the hole. Just cut a small square and secure it tightly with the bottle cap. This works better than coffee filters because it won't tear when wet and stays put during watering.
Soil Mix Secret: When blending your soil mix in Step 3, add a handful of compost to your 1:4 soil-perlite ratio. This gives your plants an extra nutrient boost without compromising drainage. I use about 1 part compost to 5 parts soil mix, and my flowers always seem happier with that little extra organic matter.
Sunlight Strategy: For Step 4's sunlight requirements, place your planters on a rolling cart or wagon if you need to move them frequently. This makes it easy to rotate them for even sun exposure throughout the day. I've found that giving my bottles a quarter-turn every morning helps prevent uneven growth where the sun hits hardest.
Pro Tips for Flower Pot Plastic Bottle
- Here's how to turn trash into treasure with these game-changing tips that'll make your upcycled planters thrive!
- Cutting Precision: For cleaner cuts in Step 2, wrap masking tape around the bottle at your marked lines before cutting.
- Drainage Hack: In Step 3, use a piece of old nylon stocking or pantyhose instead of mesh for your drainage layer.
Frequently asked questions
Got questions about turning plastic bottles into stylish, eco-friendly flower pots? You’re not alone! Here are some of the most common queries—and their easy answers—to help you get started with confidence.
What types of plastic bottles work best for flower pots?
Look for #2 (HDPE) or #4 (LDPE) plastic—these are sturdy, lightweight, and safe for plants. Avoid #3 (PVC) or #6 (PS), which can degrade over time. Clean bottles thoroughly before use to prevent mold or contamination. Pro tip: Remove labels completely to avoid ink leaching into the soil!
How long does it take for roots to adjust to a plastic bottle pot?
Most plants adapt within 2–4 weeks, but delicate roots may need extra care. Water lightly for the first week to avoid shocking the plant. If you notice wilting, check drainage—plastic can trap moisture faster than traditional pots. Pro tip: Add a layer of pebbles at the bottom to improve airflow!
Can I use plastic bottles for large plants like tomatoes or herbs?
Yes, but size matters! For bigger plants, use 2-liter or larger bottles (like soda or detergent bottles) with drainage holes. Secure them to a trellis or stake for support. Smaller herbs (basil, mint) thrive in 16–32 oz bottles—just ensure they get enough sunlight!
What’s the best way to clean and reuse plastic bottle pots?
Start by soaking in soapy water for 10 minutes, then scrub with a brush. Rinse well and let dry in the sun (UV light kills bacteria). For stubborn stains, use baking soda paste. Pro tip: Store empty pots upside down to keep pests out and extend their lifespan!
What if my plastic pot cracks or leaks?
Small cracks? Seal with waterproof silicone or epoxy. For leaks, reinforce the base with duct tape or a plastic liner. If the bottle deforms under heat, move it to a shady spot—plastic expands in sunlight. Pro tip: Avoid placing pots near direct heat sources (like grills or radiators) to prevent warping!
Wrapping up and next steps
Transforming a simple plastic bottle into a vibrant flower pot isn’t just creative—it’s a sustainable win! With just a few basic supplies and a little effort, you can give new life to waste while nurturing your green thumb.
Whether you’re a gardening newbie or a seasoned pro, this upcycled planter is a budget-friendly, eco-conscious way to keep your space blooming all year.
Ready to grow? Start small—pick a bottle, follow the steps, and watch your garden (and creativity!) flourish. Share your blooming masterpiece with friends or expand your collection—every plant starts with one pot! 🌱✨