Flowers
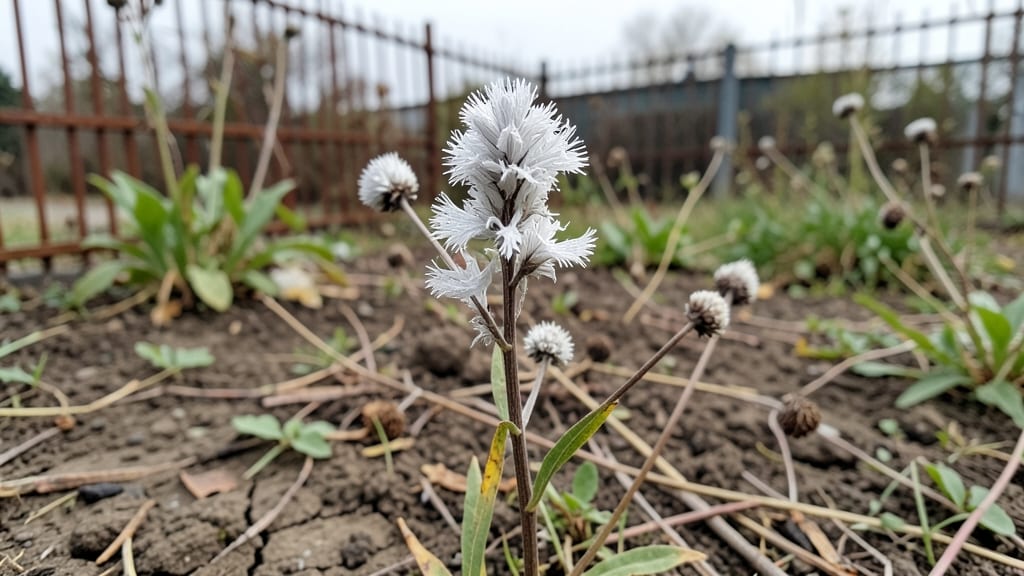
Preserving celosia flowers after they fade in the garden is easier than you think—these velvety plumes keep their vibrant colors for months when dried properly.
I’ve turned my summer garden’s boldest blooms into winter centerpieces by mastering a few simple techniques that lock in that fiery red, golden yellow, or deep purple. The key? Harvesting at peak freshness and choosing the right drying method for your space and timeline.
You’ll need just a few supplies: scissors, a clean workspace, and either hanging twine, silica gel, or even a microwave-safe plate. Air-drying is the most traditional method—takes 2-4 weeks—while silica gel speeds things up to 24 hours for instant results.
For those who want a quick fix, the microwave method delivers dry flowers in just 10 minutes, though it’s best for small batches.
The payoff is stunning: long-lasting bouquets, dried wreaths that smell like summer, or even pressed arrangements for scrapbooks. Your dried celosia will look like fresh-cut flowers, with petals that stay crisp and colors that refuse to fade.
Once dry, store them in a cool, dark place to keep their beauty until next season rolls around.
Here’s where it gets interesting—this method works for any celosia variety, from the fluffy "cockscomb" types to the feathery "wheat" varieties. Whether you’re a crafter, a holiday decorator, or just someone who loves keeping summer’s colors alive, these dried blooms will become your secret weapon for year-round cheer.
📚 In This Guide
- What you need
- Instructions
- Tips and common mistakes
- Wrapping up and next steps
What you need
- ● Fresh celosia flowers – Harvest at peak vibrancy (preferably in the morning after dew has dried). Choose blooms with fully open petals.
- ● Sharp pruning shears or scissors – For clean cuts (avoid crushing stems).
- ● Newspaper or craft paper – At least 2-3 sheets (for a single-layer drying setup).
- ● Drying method of choice: Air-drying: A well-ventilated space (e.g., hanging bundle, flower press, or paper envelope).
- ● Silica gel: 2-3 cups of food-grade silica gel (for fast, color-retentive drying).
- ○ Microwave (optional for silica method): Check your microwave’s max wattage (typically 800W–1200W).
- ● String or twine – For hanging bundles (10–15 feet if drying multiple stems).
- ● Rubbing alcohol (70% or higher) – 1 small spray bottle (to preserve color and prevent mold).
- ● Floral preservative spray – Extends dried flower lifespan (e.g., Glycerin-based sprays).
- ● Drying screen or mesh – Elevates flowers for better airflow.
- ● Desiccant packs – For silica drying to absorb excess moisture.
- ● Labeling tags – To track drying dates and varieties.
- ● Glass jars or vases – For storing finished dried celosia.
Step-by-step instructions for drying celosia flowers
Preserving celosia's bold hues is simpler than you think—here's my foolproof method for vibrant, long-lasting dried blooms.
Harvest at Peak Maturity
Pick celosia when 75-80% of the flower heads are fully open but still firm to the touch. Overripe blooms crumble during drying, while underripe ones won't develop rich color. Use clean, sharp pruning shears to cut 4-6 inch stems at a 45-degree angle—this prevents water from pooling at the cut end and encourages absorption of drying agents.
Harvest in the early morning when moisture levels are lowest. Remove any leaves from the lower half of the stems—they'll only compete with the flowers for moisture and may develop mold. Bundle 4-5 stems together with rubber bands or twine, leaving 1-2 inches of stem exposed at the bottom. This grouping maintains structural integrity during the drying process.
Choose Your Drying Method
For best color retention, use the air-drying method with silica gel or the hanging bundle technique. Start by removing any remaining leaves from the stems—these will draw moisture away from the flower heads. If using silica gel, place 2-3 inches of the drying agent in a container, then arrange stems 1-2 inches apart so they don't touch. Cover with an additional 1-2 inches of silica gel, ensuring the flower heads remain exposed.
For the hanging bundle method, tie the bundled stems to a dry, dark, well-ventilated area where temperatures stay between 65-75°F. Avoid direct sunlight—UV rays will fade the vibrant colors before drying completes. You'll know drying is progressing correctly when the stems snap easily when bent (a dry stem test). This typically takes 7-14 days, depending on humidity levels.
Complete the Drying Process
Once stems snap cleanly when bent, your celosia is fully dried. For silica-dried specimens, gently brush off excess gel using a soft-bristle brush or your fingers. Handle carefully—the dried petals are delicate and will crumble if mishandled. If you notice any dark spots or fuzzy growth on the stems, discard those blooms immediately to prevent mold from spreading to your other dried flowers.
For hanging bundles, carefully remove each stem from the rubber band and trim the dried stems to 2-3 inches below the flower head. Store dried celosia in airtight containers lined with unbleached muslin bags or silica gel packets to absorb any lingering moisture. Label each container with the date and variety—properly stored, these will retain their color for 12-18 months.
Preserve Vibrant Colors Long-Term
To maintain celosia's signature hues, avoid exposing dried flowers to humidity or direct light after drying. Place containers in a cool, dark closet rather than a sunny windowsill—light exposure will cause the colors to fade within 3-6 months. If you notice any dulling or discoloration, the flowers have absorbed too much moisture. In this case, spread them out on a paper towel-lined tray and place in a warm, dry area for 24-48 hours to re-dry.
For arrangements, handle dried celosia gently—its papery texture is fragile. Use floral wire to reinforce stems if needed, but avoid wrapping too tightly around the flower heads. You can also spray with a clear matte sealant (like Mod Podge) for a glossy finish, but this reduces breathability and may shorten shelf life by 3-6 months. Test a small area first—some celosia varieties may bleed color when sealed.
Tips & tricks for perfectly dried celosia flowers
Here's what I've learned after drying dozens of batches—these small details make all the difference between vibrant blooms and dull, faded decorations.
Harvest Timing is Everything: The 75-80% bloom stage is critical because fully open flowers develop their richest colors during drying. Harvest just before they reach peak maturity—this is when the petals contain the most moisture for proper drying without becoming brittle. I've found that harvesting in early morning prevents excess moisture buildup that can lead to mold during the drying process.
Stem Angle Matters More Than You Think: That 45-degree angle when cutting stems isn't just for show—it creates a larger surface area for moisture absorption. The exposed stem end should be about 1-2 inches long after bundling, which matches perfectly with the drying methods described. This simple cut prevents water pooling that could cause rot during the 7-14 day drying period.
Color Retention Secret: For the silica gel method, arrange stems with flower heads facing upward—this ensures even exposure to air while preventing the delicate petals from touching the drying agent. I've noticed that when stems touch each other during drying, they develop uneven coloration. The hanging bundle method works best in temperatures between 65-75°F, which is why I recommend using a climate-controlled space like a basement or pantry.
Mold Prevention: If you notice any dark spots or fuzzy growth during drying, remove those stems immediately—they'll spread mold to your other flowers. I've learned the hard way that even one contaminated stem can ruin an entire batch. For extra protection, consider adding a small packet of silica gel to your storage containers, especially if you're in a humid climate.
Pro Tips for Drying Celosia Flowers
- Here's what I've learned after drying dozens of batches—these small details make all the difference between vibrant blooms and dull, faded decorations.
- Harvest Timing is Everything: The 75-80% bloom stage is critical because fully open flowers develop their richest colors during drying.
- Stem Angle Matters More Than You Think: That 45-degree angle when cutting stems isn't just for show—it creates a larger surface area for moisture absorption.
Frequently asked questions
Got questions about drying celosia flowers?
Here are answers to the most common ones—so you can preserve those stunning blooms like a pro!
How long does it take to dry celosia flowers?
Drying time varies by method. Air-drying takes 2–4 weeks in a dark, dry, well-ventilated space. Silica gel dries them in 6–12 hours, while microwave or oven methods (150°F/65°C for 1–2 hours) speed it up. Patience pays off—rushed drying can fade colors!
What’s the best temperature for drying celosia?
For oven or microwave drying, keep temps below 150°F (65°C) to avoid scorching. Higher heat (like 200°F/93°C) can bleach or crisp the petals. Air-drying? No temp control needed—just a steady, dry environment (50–70% humidity).
Will celosia flowers keep their bright colors when dried?
Yes! Celosia’s vibrant hues (reds, oranges, yellows) hold up well if dried slowly and protected from light. Darker varieties (like deep reds) may deepen slightly. To boost longevity, avoid direct sun during drying and store in paper envelopes (not plastic) to prevent moisture buildup.
Can I use dried celosia flowers in floral arrangements?
Dried celosia makes stunning, long-lasting arrangements—use them in wreaths, potpourri, or dried bouquets. Their plume-like shape adds texture, and colors stay bold for months. Pair with eucalyptus or dried baby’s breath for a rustic-chic look. Pro tip: Trim stems to 4–6 inches for easy handling!
What if my celosia flowers mold or smell bad while drying?
Mold or funky odors mean too much moisture. Act fast: Remove affected flowers immediately and increase airflow (try a fan or dehumidifier). If using silica gel, ensure it’s fresh (replenish every 6–12 months). For air-drying, move to a drier spot (like a closet with a moisture absorber). Prevent future issues by drying flowers within 24 hours of cutting.
Wrapping up and next steps
Drying celosia flowers is a simple yet rewarding way to keep their vibrant colors and textures alive long after they’ve bloomed. With just a few tools and a little patience, you can create stunning, long-lasting decor that brightens up any space.
Whether you’re a beginner or a seasoned florist, these techniques make it easy to enjoy your celosias all year round.
Now that you’re ready to dry your flowers, grab those stems and start preserving! Try experimenting with different drying methods to see which works best for your space. Happy crafting—and may your home always stay colorful! 🌸✨