
Planting
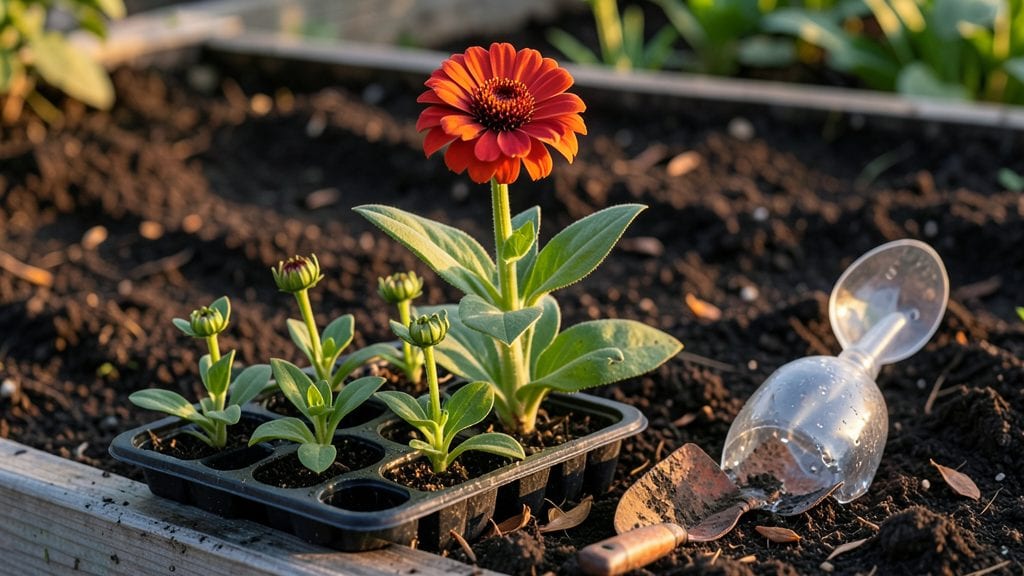
Planting a flower garden for beginners starts with sunlight, soil, and a few simple decisions that avoid the overwhelm. I still remember my first garden—where I planted marigolds in the shade and wondered why they never bloomed.
The key isn’t complicated: pick a spot with at least 6 hours of sun, choose flowers that match your climate zone, and prepare the soil with compost for happy roots.
You’ll need basic tools—a trowel, gloves, and a watering can—and maybe a small rake if your soil’s compacted. The real secret? Start small: a 4-foot by 4-foot bed gives you room to experiment without feeling lost.
Group plants by sunlight needs (sun-lovers together, shade-dwellers in their own corner) and leave 12–18 inches between each plant for airflow. This keeps diseases away and makes weeding easier later.
After planting, water deeply once a week (more if it’s hot) and watch as those first green shoots push through the soil. Within 4–6 weeks, you’ll see buds forming, and by summer, your garden will burst with color—no green thumb required.
The best part? Flowers attract pollinators, and even if a plant flops, you’ll learn what works next time.
This method works for containers, raised beds, or ground plots—just adjust spacing. The goal is confidence, not perfection. By next season, you’ll be swapping stories with neighbors about which flowers thrived (and which didn’t). Let’s get those holes dug!
📚 In This Guide
- What you need
- Instructions
- Tips and common mistakes
- Wrapping up and next steps
What you need
- ● Gardening gloves (1 pair) – Protect your hands from thorns and dirt.
- ● Hand trowel (1) – A 6-8 inch trowel works best for digging small holes.
- ● Garden fork or spade (1) – For turning soil and breaking up clumps.
- ● Watering can or hose with spray nozzle – A 1-2 gallon can is ideal for precision.
- ● Pruning shears (1) – Sharp, bypass-style shears for trimming.
- ● Measuring tape or ruler (1) – Helps maintain proper spacing between plants.
- ○ Mulch (optional but recommended) – 2-3 bags of shredded bark or pine straw to retain moisture.
- ● Sunlight assessment – Know your garden’s sunlight exposure (full sun, partial shade, or full shade).
- ○ Soil test (optional but helpful) – A DIY kit (~$10) checks pH and nutrient levels.
- ● Water source nearby – Ensure easy access for consistent watering.
- ● Plants or seeds – Choose beginner-friendly flowers like marigolds, zinnias, or petunias (3-5 plants per square foot).
Step-by-step instructions for planting your first flower garden
Let's create a simple, beautiful layout that thrives with minimal fuss.
Choose a Sunny Spot and Clear the Area
Most flowers need at least 6 hours of sunlight daily, so pick a location that gets plenty of sun. I like to test spots by observing them for a week before planting—mark the shadiest and sunniest areas with stakes. Clear the chosen area of grass, weeds, and debris using a garden fork or shovel. Dig up any stubborn weeds by their roots to prevent regrowth.
Once the area is clear, rake the soil smooth and level it out. This ensures good drainage and makes planting easier. If your soil feels compacted or hard, use the back of your rake to break it up slightly. The goal is to create a clean, even surface where plants can settle comfortably.
Plan Your Layout for Height and Color
Arrange your flowers in layers by height—tallest in the back, medium in the middle, and shortest in the front. This creates a natural, balanced look. I like to sketch a rough design on paper first, grouping flowers with similar sunlight and water needs together. For a beginner-friendly garden, stick to 4-6 different types of flowers to keep maintenance simple.
Consider color placement too—bright blooms in the front draw attention, while softer hues in the back create depth. Place taller flowers like sunflowers or delphiniums toward the center or back of the bed. Medium-height plants like coneflowers or black-eyed Susans go in the middle, and low-growing flowers like marigolds or pansies belong at the front.
Dig Holes and Plant Carefully
Use a trowel to dig holes twice as wide as the root ball of each plant but only as deep as the plant’s container. Gently remove the plant from its pot and loosen any tangled roots with your fingers. Place the plant in the hole so the top of the root ball sits level with the surrounding soil—burying too deep can suffocate the plant, while planting too shallow exposes roots to drying out.
Fill the hole with soil, pressing lightly around the base to remove air pockets. Water the plant deeply right after planting to help the soil settle and encourage roots to spread. Avoid stepping on the soil near the plant, as this can compact it and hinder root growth. Space plants according to their mature size—check the plant tags for guidance.
Mulch and Water for Long-Term Health
Spread 2-3 inches of mulch over the soil surface, keeping it 2-3 inches away from the base of each plant to prevent rot. Mulch helps retain moisture, suppress weeds, and regulate soil temperature. I prefer organic mulch like shredded bark or straw, but inorganic options like gravel work too, especially in hot climates.
Water the garden deeply right after mulching, soaking the soil to a depth of 6-8 inches. This encourages roots to grow downward rather than staying shallow. For the first few weeks, water every 2-3 days until the soil feels moist 2 inches below the surface. Once established, most flowers only need 1 inch of water per week, either from rain or irrigation.
Monitor and Maintain for Continuous Blooms
Check your garden daily for signs of stress, like wilting leaves or yellowing foliage. These are often early warnings of overwatering, underwatering, or pest issues. I like to inspect plants in the morning when they’re fully hydrated—this helps spot problems before they spread. Remove any weeds that pop up by hand to keep them from competing with your flowers for nutrients.
Deadhead spent blooms regularly to encourage more flowers and prevent self-seeding where you don’t want it. Fertilize lightly every 4-6 weeks with a balanced, slow-release fertilizer to keep plants thriving. With consistent care, your garden will reward you with vibrant blooms all season long!
Tips & tricks for perfect beginner flower garden layout
Creating your first flower garden can feel overwhelming, but these simple tricks will help you avoid common pitfalls and build confidence from day one.
Sunlight Testing: Before planting, observe your chosen spot for a full week to confirm it gets at least those 6 hours of sunlight daily—this is non-negotiable for most flowers. I use colorful stakes to mark the sunniest areas, which helps me visualize the layout before digging. Trust me, this small step prevents frustration later when plants struggle to thrive.
Soil Prep Secret: Don't skip the soil testing! If your soil feels compacted after raking, use the back of your rake to break it up slightly—this creates tiny air pockets that help roots establish faster. I like to add a thin layer of compost (about 1 inch) before planting, which gives your flowers a nutrient boost right from the start without overwhelming them.
Plant Spacing Visual: When arranging your 4-6 different types of flowers, imagine them at their mature size. Hold your hand out at arm's length—if you can't see the center of each plant from this distance, they're too close. This simple trick prevents overcrowding and makes future maintenance much easier. I sketch my layout on paper first to visualize the spacing before digging holes.
Watering Hack: After planting, I use a long screwdriver to check if I've reached that 6-8 inch soil depth—this ensures proper root development. For the first few weeks, set a timer for every 2-3 days to water deeply. A good rule of thumb is to water until you see moisture emerge from the bottom of the planting hole—this confirms you've reached the right depth.
Pro Tips for Plant A Flower Garden For Beginners
- Creating your first flower garden can feel overwhelming, but these simple tricks will help you avoid common pitfalls and build confidence from day one.
- Sunlight Testing: Before planting, observe your chosen spot for a full week to confirm it gets at least those 6 hours of sunlight daily—this is non-negotiable for most flowers.
- Soil Prep Secret: Don't skip the soil testing!
Frequently asked questions
Got questions?
Starting a flower garden is exciting, but beginners often have concerns about timing, care, and troubleshooting. Here are some of the most common questions—and their simple answers—to help you grow with confidence!
When is the best time to plant a flower garden?
For most regions, spring (after the last frost) and early fall are ideal. Cool weather helps roots establish before hot summer stress. Check your local frost dates—planting too early can shock tender flowers!
How often should I water my new flower garden?
Water deeply 1-2 times per week (more in extreme heat). New plants need consistent moisture—aim for 1 inch of water per week. Mulch helps retain moisture and keeps roots cool. Avoid overhead watering to prevent fungal diseases.
What are the most common pests for beginner flower gardens?
Watch for aphids, slugs, and spider mites. Start with organic solutions like neem oil or diatomaceous earth. Handpick slugs at night or use beer traps (bury a shallow dish filled with beer—it works!). Healthy soil and companion planting (like marigolds) can deter pests naturally.
Can I plant flowers in containers instead of a ground garden?
Containers are perfect for small spaces or renters
. Use well-draining soil and pots with drainage holes. Choose compact varieties like petunias, pansies, or dwarf daisies. Rotate containers occasionally for even growth and monitor watering—containers dry out faster.
What do I do if my flowers don’t bloom?
Lack of blooms often means too much shade, over-fertilizing (with nitrogen), or deadheading too late. Ensure your flowers get 6+ hours of sunlight and use a balanced bloom-boosting fertilizer (like 5-10-5). Deadhead spent blooms regularly to encourage new flowers!
Wrapping up and next steps
Starting your first flower garden is an exciting journey filled with color, growth, and the joy of nurturing life! Remember, the key to success lies in choosing the right plants, preparing your soil, and giving your garden consistent care—not perfection.
Every gardener, from beginners to experts, faces challenges, but each step you take is a victory in itself. 🌸
Now that you’re armed with knowledge, take that first step—whether it’s sketching a simple layout, gathering supplies, or even just digging your hands into the soil. Your garden awaits! Happy planting, and may your blooms bring endless joy and beauty to your space.