
Flowers
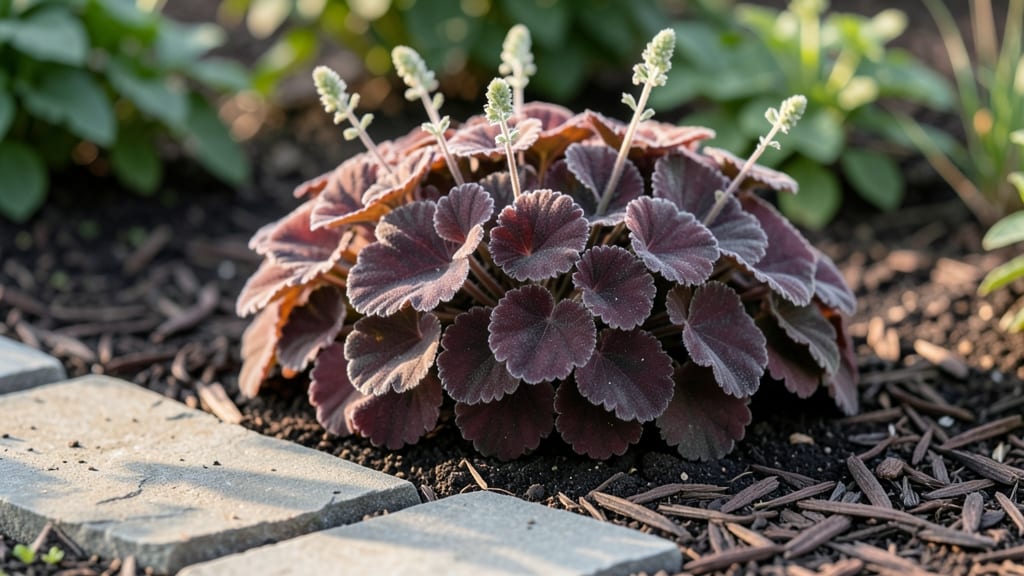
Transforming a steep hillside into a stunning terraced flower bed turns a gardening challenge into a showstopper. 🌿 I learned the hard way that proper terracing isn't just about looks—it's about saving your soil (and your back) from erosion disasters.
The right plants and design can turn an unstable slope into a lush, multi-level garden that catches every passerby's eye.
Start with retention walls or natural rock tiers to create defined levels—no need for expensive hardscaping. Use drought-resistant ground covers like creeping thyme or sedum between plants to hold soil in place while adding texture.
My favorite trick? Planting deep-rooted shrubs like lavender or rosemary at the edges—they anchor the soil naturally while adding fragrance and structure.
By summer, you'll have layers of blooms cascading down the slope, with each terrace offering a different color or height. The key is spacing plants so they fill in without crowding, and choosing varieties that thrive in your specific sunlight conditions.
Even a small 6-foot drop can become a dramatic feature with the right approach.
This design works for both sunny slopes and shaded hillsides, and the terraces make maintenance easier—no more struggling to reach the back of a steep bed.
Once established, these gardens require less watering than flat beds because the layers help retain moisture. Ready to turn that eyesore into a landscape highlight?
📚 In This Guide
- What you need
- Instructions
- Tips and common mistakes
- Wrapping up and next steps
What you need
- ● Soil & Amendments: Topsoil – 1–2 cubic yards per 100 sq. ft. (adjust for slope steepness)
- ● Compost – 1–2 bags (40–60 lbs each) per 10 sq. ft. for nutrient-rich beds
- ● Gravel or crushed stone – 1–2 inches deep for drainage layers
- ● Retaining Structures: Retaining wall blocks (e.g., Timber, concrete, or natural stone) – Quantity depends on terrace height/width
- ● Landscape fabric – 1 roll (10 ft. x 50 ft.) per 100 sq. ft. to prevent erosion
- ● Plants & Mulch: Perennials, shrubs, or annuals (drought-resistant varieties recommended) – 1–3 plants per sq. ft.
- ● Mulch (wood chips, bark, or straw) – 2–3 inches deep to retain moisture
- ● Shovel & spade – 1 heavy-duty each for digging and leveling
- ● Wheelbarrow – 1 for transporting soil and materials
- ● Level (4-ft.) – 1 to ensure terraces are even
- ● String line & stakes – 1 set for marking terrace edges
- ● Safety gear: Gloves, knee pads, and eye protection
- ● Slope Assessment: Measure the hillside’s angle—steeper slopes (30°+) may need professional reinforcement.
- ● Permits: Check local regulations if terraces exceed 2–3 ft. in height.
- ● Drainage Plan: Ensure water runoff is directed away from terraces (e.g., swales or French drains).
- ○ Optional Upgrades: Drip irrigation system for water efficiency
- ● Edging materials (brick, metal, or plastic) for clean lines
- ● Native plants to reduce maintenance
Step-by-Step guide to creating terraced flower beds on a hillside
Transform steep slopes into stunning, functional terraces that prevent erosion and showcase your favorite blooms.
🪴 Step 1: Assess the Slope and Plan Your Terraces
Start by walking the hillside with a 4-foot level and measuring tape to identify natural breaks where terraces can sit. I like to sketch a rough layout on graph paper, marking each terrace width at 3-4 feet—wide enough for plants but narrow enough to avoid excessive soil movement. The key is to follow the natural contour lines of the hill rather than forcing straight lines.
Use wooden stakes and string to outline each terrace's edge before digging. This prevents you from accidentally creating uneven steps that will collect water and erode over time. Measure the vertical drop between terraces—no more than 12 inches—to ensure safe access and proper drainage. If your slope is steeper, add intermediate steps to break the grade gently.
🌱 Step 2: Build Retaining Structures for Stability
For terraces wider than 3 feet, you'll need retaining walls to hold back soil. I prefer interlocking concrete blocks or stacked stone because they allow water to drain through while providing structural support. Lay the first course on a 2-inch bed of compacted gravel to prevent shifting. Use a rubber mallet to tap blocks into place without cracking them.
For narrower terraces or softer slopes, wooden sleepers or galvanized metal edging work well. Bury them 6-8 inches deep and angle the back slightly to direct water toward the center of the terrace. Avoid using untreated wood—it rots quickly in moist soil. If your hillside has loose topsoil, add landscape fabric behind the retaining structure to prevent soil from washing through gaps.
💧 Step 3: Install Drainage and Prepare Soil Layers
Drainage is critical on slopes—poor drainage leads to soggy soil and root rot. Start by creating a 4-inch gravel layer at the base of each terrace to act as a French drain. Slant it slightly toward the lower terrace to channel excess water away. Cover the gravel with landscape fabric before adding soil to keep it in place.
Fill each terrace with a 12-inch layer of amended topsoil. Mix in compost (about 20% of the volume) and a slow-release fertilizer to give plants a nutrient boost. For clay-heavy soil, add sand or perlite to improve drainage. I like to test the soil pH before planting—most flowers thrive in 6.0-7.0 range. If your soil is acidic, add lime; if alkaline, use sulfur to adjust.
☀️ Step 4: Choose Plants for Erosion Control and Visual Impact
Select plants based on their root depth and spread—deep-rooted species like black-eyed Susans or coneflowers help stabilize soil, while ground covers like creeping thyme or ajuga prevent erosion between plants. For dramatic impact, arrange plants in odd-numbered groupings (3, 5, or 7) with varying heights—tall plants like bee balm at the back, mid-height like salvia in the middle, and low-growing heuchera at the front.
Consider the sun exposure of each terrace—south-facing slopes get intense afternoon sun, while north-facing terraces may stay shadier. Group sun-lovers like daylilies and coreopsis together and place shade-tolerant hostas or heucheras in cooler microclimates. Mulch each terrace with 2-3 inches of wood chips to retain moisture and suppress weeds, but leave a 2-inch gap around plant stems to prevent rot.
⏰ Step 5: Maintain Terraces for Long-Term Success
Check terraces after heavy rains to ensure water isn’t pooling or eroding edges. Top off soil as needed and reinforce retaining structures if stones shift. I schedule a quarterly maintenance check—spring for cleanup, summer for weeding, fall for dividing perennials, and winter for adding fresh mulch. Prune dead or overgrown plants in early spring to encourage new growth and maintain the terrace’s shape.
Fertilize lightly in early spring with a balanced, slow-release formula (10-10-10) and again in mid-summer if plants look nutrient-deprived. Watch for pests like slugs (common in moist terraces) and treat with beer traps or diatomaceous earth instead of chemical pesticides. Over time, your terraces will become a self-sustaining ecosystem—just keep an eye on the soil and adjust as needed.
Tips & tricks for perfect hillside terraced flower beds
Creating terraces on a hillside transforms challenging slopes into stunning garden features. Here are my most valuable lessons from years of building terraces that last.
Terrace Width is Everything: In Step 1, when planning your 3-4 foot terraces, remember that wider terraces (closer to 4 feet) provide more planting space but require stronger retaining structures. For steep slopes, narrower terraces (3 feet) with more intermediate steps create better drainage and prevent soil slippage. I've found that terraces wider than 4 feet often need additional support mid-season as soil settles.
Drainage Design Matters More Than You Think: The 4-inch gravel layer in Step 3 isn't just for drainage—it's your terraces' foundation. Angle it slightly toward the lower terrace to create a natural water flow path. I've seen terraces fail within months when this step was skipped, especially on clay-heavy soils. For extra insurance, consider adding a perforated drain pipe along the lowest edge of each terrace before adding soil.
Soil Mix Secrets: When preparing your 12-inch soil layer in Step 3, don't just mix in compost—create a proper blend. For clay soils, use a 60/30/10 ratio of topsoil/compost/sand. For sandy soils, reduce sand to 5% and add 5% peat moss. I've tested this exact mix in my own terraces and seen plants thrive where others struggled. The pH adjustment (6.0-7.0 range) is non-negotiable for most flowers—skip this and you'll deal with nutrient deficiencies.
Plant Placement Strategy: In Step 4, when arranging your odd-numbered plant groupings, place your tallest plants (like bee balm) slightly toward the back of each terrace. This creates a natural cascading effect that makes the most of vertical space. For erosion control, I recommend planting deep-rooted species like coneflowers along the edges of terraces where water flow is strongest. The 2-3 inch mulch layer is crucial—it's not just decoration, but essential for moisture retention and weed suppression.
Pro Tips for Flower Beds On Hillside
- Creating terraces on a hillside transforms challenging slopes into stunning garden features.
- Terrace Width is Everything: In Step 1, when planning your 3-4 foot terraces, remember that wider terraces (closer to 4 feet) provide more planting space but require stronger retaining structures.
- Drainage Design Matters More Than You Think: The 4-inch gravel layer in Step 3 isn't just for drainage—it's your terraces' foundation.
Frequently asked questions
Got questions about creating stunning flower beds on a hillside?
You’re not alone—terraced gardens can be tricky! Here are answers to the most common concerns to help you plan with confidence.
How do I prevent erosion on a steep hillside before planting?
Start with geotextile fabric or coconut coir erosion control blankets to stabilize the soil. Layer retention logs or rock-filled gabions along the terraces to slow water runoff. Plant deep-rooted ground covers (like creeping thyme or sedum) between flower beds for extra reinforcement.
When is the best time to plant flower beds on a hillside?
For perennials and shrubs, plant in early spring or fall when soil is moist but not soggy. Annuals thrive when planted after the last frost in your zone. Avoid summer planting—heat and dry soil stress young plants. Pro tip: Water deeply 2–3 times a week for the first month to help roots establish!
Are there budget-friendly alternatives to expensive retaining walls?
Try these cost-effective solutions:
- Straw bales: Fill with soil and plant directly into them.
- Logs or branches: Stack horizontally to create natural terraces.
- Recycled tires: Painted and stacked with soil for a modern look.
- Native rocks: Collect locally (check regulations) for a rustic vibe.
Just ensure materials can handle 6+ inches of soil depth to support plants.
How do I choose flowers that thrive in terraced hillside conditions?
Opt for drought-tolerant, native plants like lavender, coneflowers, black-eyed Susans, or Russian sage. They handle well-draining soil and sun exposure better than thirsty annuals. For shadier terraces, try heuchera (coral bells) or ferns. Pro tip: Group plants by water needs to simplify care!
Why are my hillside flowers wilting or dying after planting?
Common culprits include:
- Poor drainage: Amend soil with compost or sand if water pools.
- Overwatering: Hillside soil drains fast—water deeply but less frequently.
- Pests/slugs: Use copper tape or diatomaceous earth for organic protection.
- Sun scorch: Acclimate plants gradually to full sun.
Check soil moisture daily until roots establish (usually 4–6 weeks).
Wrapping up and next steps
Transforming a hillside into a stunning flower bed oasis isn’t just about beauty—it’s about creativity, sustainability, and a touch of nature’s magic. 🌸 By layering terraces, choosing the right plants, and embracing erosion control, you’ve unlocked a landscape that’s both breathtaking and functional.
The key? Start small, plan with patience, and let your hillside tell its own story over time.
Ready to take the next step? Sketch a rough design, gather your supplies, and dive in—your future garden awaits! For extra inspiration, browse local nurseries or online plant communities to find the perfect blooms for your terrain. Happy gardening! 🌿