
Flowers
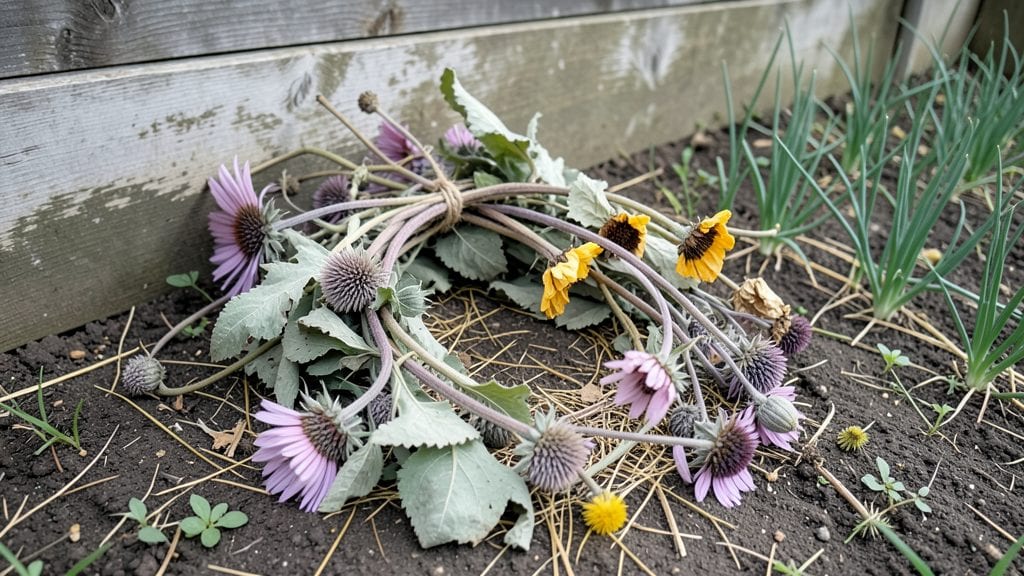
Turn your garden’s fading blooms into a wreath that lasts all year—dried flower wreaths are the secret to porch charm that never wilts. 🌿 I learned this trick after my sunflowers and lavender drooped too soon, and now I make wreaths that smell like summer even in December.
The best part? Every stem you dry becomes part of something beautiful, keeping your garden’s story alive long after the season ends.
Start with flowers that hold their shape when dried—think yarrow, statice, or baby’s breath—and gather a few grapevines or a sturdy foam base for structure. The drying process takes 2-4 weeks, but it’s hands-off: just bundle stems and hang upside down in a dark, dry spot.
Once dry, arrange them loosely around your base, letting some stems overlap for texture. This isn’t about perfection; it’s about celebrating the imperfect beauty of your garden.
What you end up with is a wreath that doubles as party decor, a front-door welcome, or a rustic centerpiece—all while supporting sustainable gardening. The colors stay vibrant, the textures add depth, and you’ll never buy another store-bought wreath again.
Plus, swap out flowers seasonally to keep your decor fresh without extra work. Ready to turn your garden’s leftovers into something extraordinary?
Works for any skill level, from rustic farmhouse to boho-chic styles, and adapts to whatever blooms you grow. Whether you’re drying roses from your yard or foraged wildflowers, this project proves that the most beautiful decor starts in your own garden. Let’s get crafting!
📚 In This Guide
- What you need
- Instructions
- Tips and common mistakes
- Wrapping up and next steps
What you need
- ● Ready to craft your own dried flower wreath? Here’s everything you’ll need to bring your vision to life—whether you’re going for rustic charm or boho glam! 🌸✨
- ● Pro tip: 💡 If using a foam base, pre-moisten it slightly to help flowers adhere better!
Step-by-step instructions for crafting a dried flower wreath
Here's how to create a stunning, long-lasting wreath that adds charm to any porch or celebration.
🪴 Step 1: Gather and Prepare Your Base Materials
Start with a foam floral wreath base (12-16 inches in diameter) as your foundation. I like to use a sturdy, closed-cell foam because it holds flowers securely and won't degrade over time. Cut the foam into a circular shape if needed, using a sharp utility knife. Next, gather your dried flowers—choose a mix of textures and colors for visual interest. I recommend using everlasting flowers like statice, baby's breath, or dried roses, as they hold their shape beautifully.
Before arranging, give your dried flowers a quick once-over. Remove any stems or leaves that are brittle or crumbling. If your flowers are particularly dusty, gently brush them with a soft-bristled paintbrush or a dry cloth. This ensures they'll stay fresh-looking and makes arranging easier. Keep your workspace clean and organized—you'll be working with small, delicate pieces.
🌿 Step 2: Arrange Flowers for a Natural, Balanced Look
Begin by placing larger, focal flowers around the outer edge of the foam base. I like to start with statice or dried roses because their bold shapes create a strong foundation. Space them about 2-3 inches apart and push the stems firmly into the foam. For a more organic feel, don't worry about perfect symmetry—nature isn't symmetrical, and neither should your wreath be.
Fill in the gaps with smaller flowers and filler materials like dried baby's breath or wheat stalks. These add texture and depth to your wreath. As you work, step back occasionally to check your progress. You want a balanced look where no one area feels too heavy or sparse. If a section looks empty, add a few more stems or a cluster of tiny flowers to tie it together.
💧 Step 3: Secure and Seal for Longevity
Once your flowers are arranged to your liking, use a hot glue gun to secure any stems that aren't holding firmly in the foam. Apply small dots of glue at the base of each stem, pressing gently to ensure a strong bond. Be careful not to use too much glue—just enough to hold the stems in place. For extra durability, you can also wrap the foam base with floral wire before adding flowers, which gives you a sturdier structure to work with.
To protect your wreath from moisture and pests, spray it lightly with a clear acrylic sealer. This step is optional but highly recommended if you plan to hang your wreath outdoors. Hold the can about 12 inches away and apply two even coats, allowing each coat to dry completely between applications. Once sealed, your wreath will stay vibrant and intact for years, even in changing weather conditions.
✂️ Step 4: Add Finishing Touches and Hang
Now it's time to personalize your wreath. Add ribbons, lace, or dried greenery for extra flair. I often use satin ribbon in a complementary color to tie the arrangement together. Cut a length of ribbon, fold it in half, and tie it around the top of the wreath. You can also weave the ribbon through the flowers for a more integrated look. For a rustic touch, incorporate dried eucalyptus or lavender into the design.
To hang your wreath, attach a sturdy hook to the top of the foam base. Use a floral wire or a piece of ribbon to create a loop, then secure it tightly. If you're hanging it outdoors, make sure the hook is strong enough to support the weight. Once your wreath is ready, display it on your porch, at a party, or anywhere you want to add a touch of natural elegance. With proper care, it'll stay beautiful for years to come.
Tips & tricks for perfect dried flower wreaths
A few simple tricks will help you create a wreath that looks like it came straight from a florist—without the price tag.
Base Prep Tip: Before cutting your foam base to 12-16 inches, trace it onto the foam first with a pencil. This prevents uneven edges and ensures your wreath maintains perfect circular symmetry. I also recommend using a serrated knife for cleaner cuts—it's worth the small investment for this project.
Flower Selection Strategy: For a wreath that lasts, mix textures by combining delicate flowers like baby's breath with sturdy options like statice. The baby's breath adds volume and softness, while statice provides structure. Don't be afraid to use different shades of the same color family—they'll blend beautifully once arranged.
Arrangement Hack: Work in sections rather than trying to arrange the entire wreath at once. Divide your foam base into quarters and focus on one section at a time. This makes it easier to maintain balance and prevents you from getting overwhelmed. Step back every few minutes to check your progress from a distance.
Sealing Wisdom: If you're sealing your wreath outdoors, do this step on a cloudy day or in the evening. Direct sunlight can cause the acrylic sealer to dry too quickly, which may leave uneven coverage. Two light coats are always better than one heavy coat—this prevents drips and ensures even protection.
Pro Tips for Dried Flower Wreath
- A few simple tricks will help you create a wreath that looks like it came straight from a florist—without the price tag.
- Base Prep Tip: Before cutting your foam base to 12-16 inches, trace it onto the foam first with a pencil.
- Flower Selection Strategy: For a wreath that lasts, mix textures by combining delicate flowers like baby's breath with sturdy options like statice.
Frequently asked questions
Got questions about creating or styling your dried flower wreath? We’ve got answers!
Whether you’re a DIY newbie or a seasoned crafter, these FAQs will help you craft a stunning, long-lasting centerpiece with ease.
How long do dried flower wreaths last?
With proper care, dried flower wreaths can last years—indoors or out! Store them in a cool, dry place (like a closet or garage) to prevent moisture damage. Avoid direct sunlight or humidity, which can cause fading or mold. For outdoor use, opt for weather-resistant flowers like strawflowers, baby’s breath, or dried eucalyptus.
Can I make a dried flower wreath without a grapevine base?
While grapevine is classic, try these alternatives:
- Wire or foam florist rings – Great for small, lightweight wreaths.
- Cardboard or foam board – Cut into a wreath shape and wrap with twine.
- Wooden embroidery hoops – Perfect for rustic or boho styles.
- Pre-made wreath frames – Available at craft stores for easy assembly.
How long does it take to dry flowers for a wreath?
Drying time varies by flower and method:
- Air-drying (hanging bundles upside down): 1–3 weeks.
- Silica gel (fastest method): 4–6 hours.
- Oven-drying (low heat, 200°F): 1–3 hours.
How do I prevent my dried flowers from losing color?
To keep your wreath vibrant:
- Avoid direct sunlight—UV rays fade colors over time.
- Store in a paper bag or breathable container to prevent yellowing.
- Use white vinegar spray (1:3 ratio with water) to refresh dried flowers before arranging.
- Choose deep-colored flowers (like burgundy roses or purple statice) for longer-lasting hues.
Can I reuse dried flowers from a previous wreath?
Yes! If your dried flowers are still crisp and free of pests, you can:
- Re-arrange them into a new wreath.
- Use them as filler in potpourri or sachets.
- Crush delicate petals for homemade bath salts.
Wrapping up and next steps
A dried flower wreath isn’t just decor—it’s a timeless piece of art that brings nature’s beauty indoors or out, year-round! Whether you’re crafting one for your porch, a cozy gathering, or a special celebration, these everlasting blooms add charm with minimal fuss.
With the right materials and a little creativity, you’ll create something truly magical that keeps giving.
Ready to elevate your space? Start small—try a mini wreath for your mantel or a bold statement piece for your front door! 🌸✨ Let your dried flowers shine and watch your decor transform effortlessly.